 中文
中文 From Design Sketch to Sweater Sample: How Knitwear Sampling Really Works
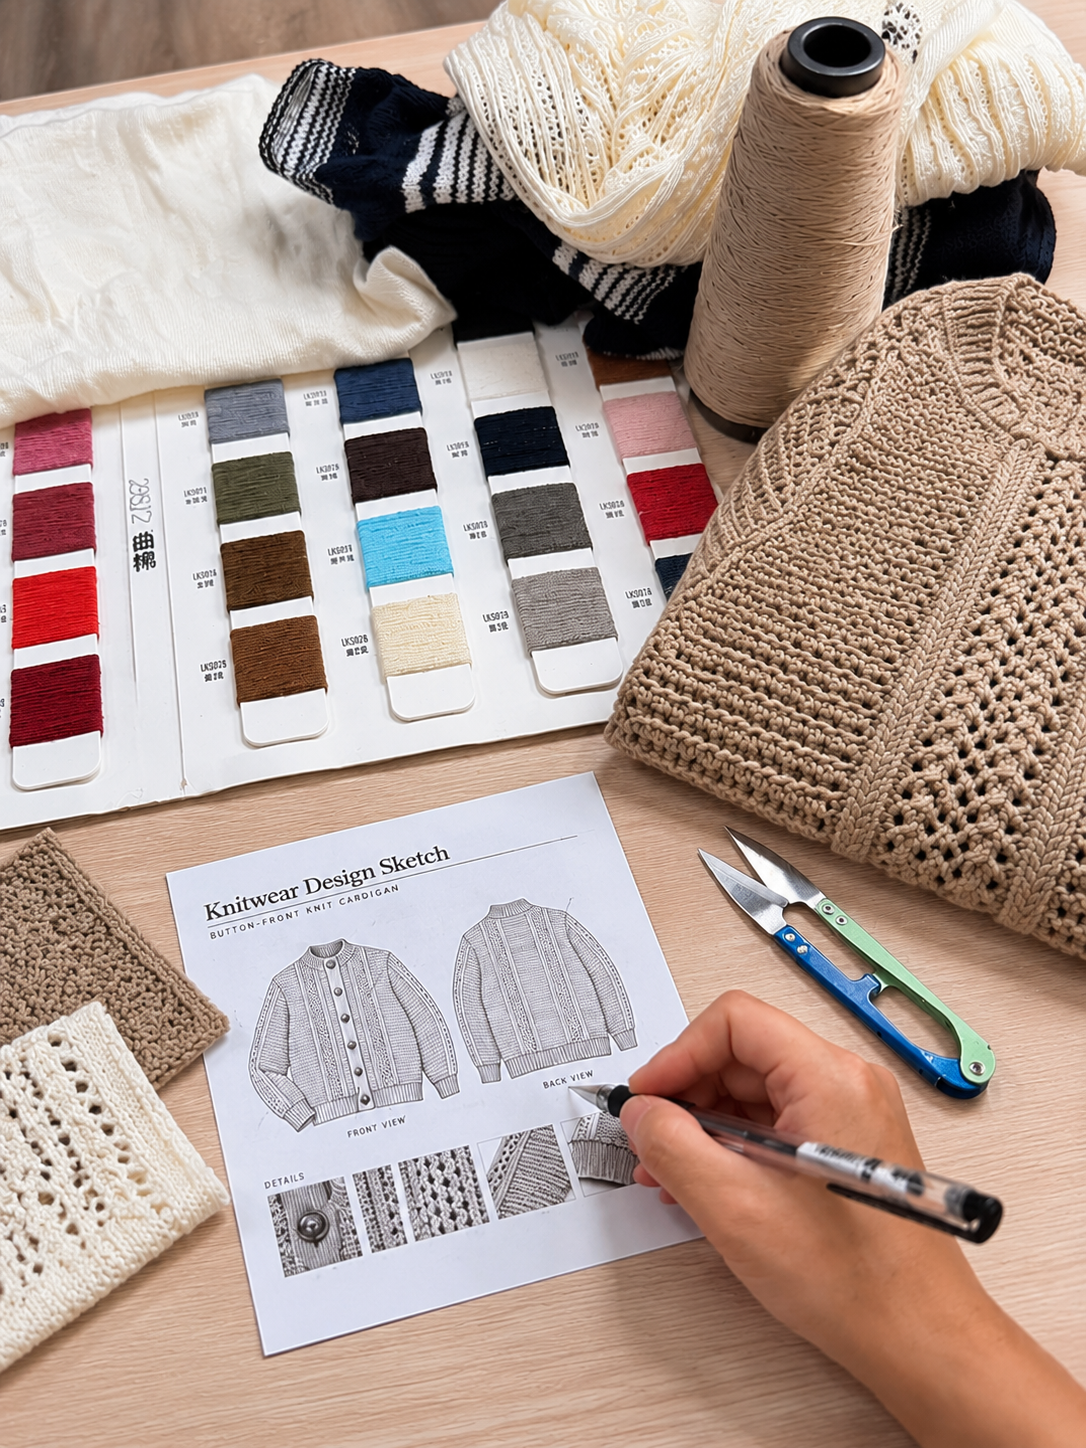
You have a sweater sketch.
Perhaps you also have a measurement sheet, a few reference images, and an idea of how you want the sweater to look and feel.
But there are still questions:
- Which yarn will create the right-hand feel?
- Which gauge works with the intended structure?
- How should the garment be constructed?
- Will the proportions in the sketch actually work once knitted?
- What happens if the first sample doesn't look exactly as expected?
These are the questions that knitwear sampling is designed to answer.
A sketch shows the creative direction. Sampling translates that direction into a physical product by making a series of technical decisions about yarn, gauge, stitch structure, measurements, programming, construction, linking, and finishing.
And sometimes, the most valuable part of sampling is discovering what needs to change.
Here is what actually happens between a design sketch and an approved sweater sample.
Before We Start: What Do You Need to Send?
A complete tech pack is helpful, but not every knitwear project begins with one.
Depending on the stage of your collection, you may have:
- A design sketch
- A complete tech pack
- A measurement/specification sheet
- Reference images
- An existing garment
- Yarn or fiber preferences
- Stitch or texture references
- Color references
- A target fit or silhouette
If some technical information is missing, the first task is to identify what still needs to be decided before knitting begins.
For example, a sketch might clearly show an oversized sweater with dropped shoulders and a textured surface.
But it may not specify:
- Yarn count
- Gauge
- Exact stitch structure
- Rib tension
- Shoulder construction
- Finished garment weight
- Detailed measurements
These aren't small production details.
They can change how the finished sweater looks, feels, fits, and costs.
So before making a sample, we first ask:
What is the designer trying to achieve—and what technical decisions are required to achieve it?
1、Reading the Design Beyond the Sketch
When our development team receives a design, we don't only look at what the sweater looks like.
We look at how it might need to be constructed.
A designer may see:
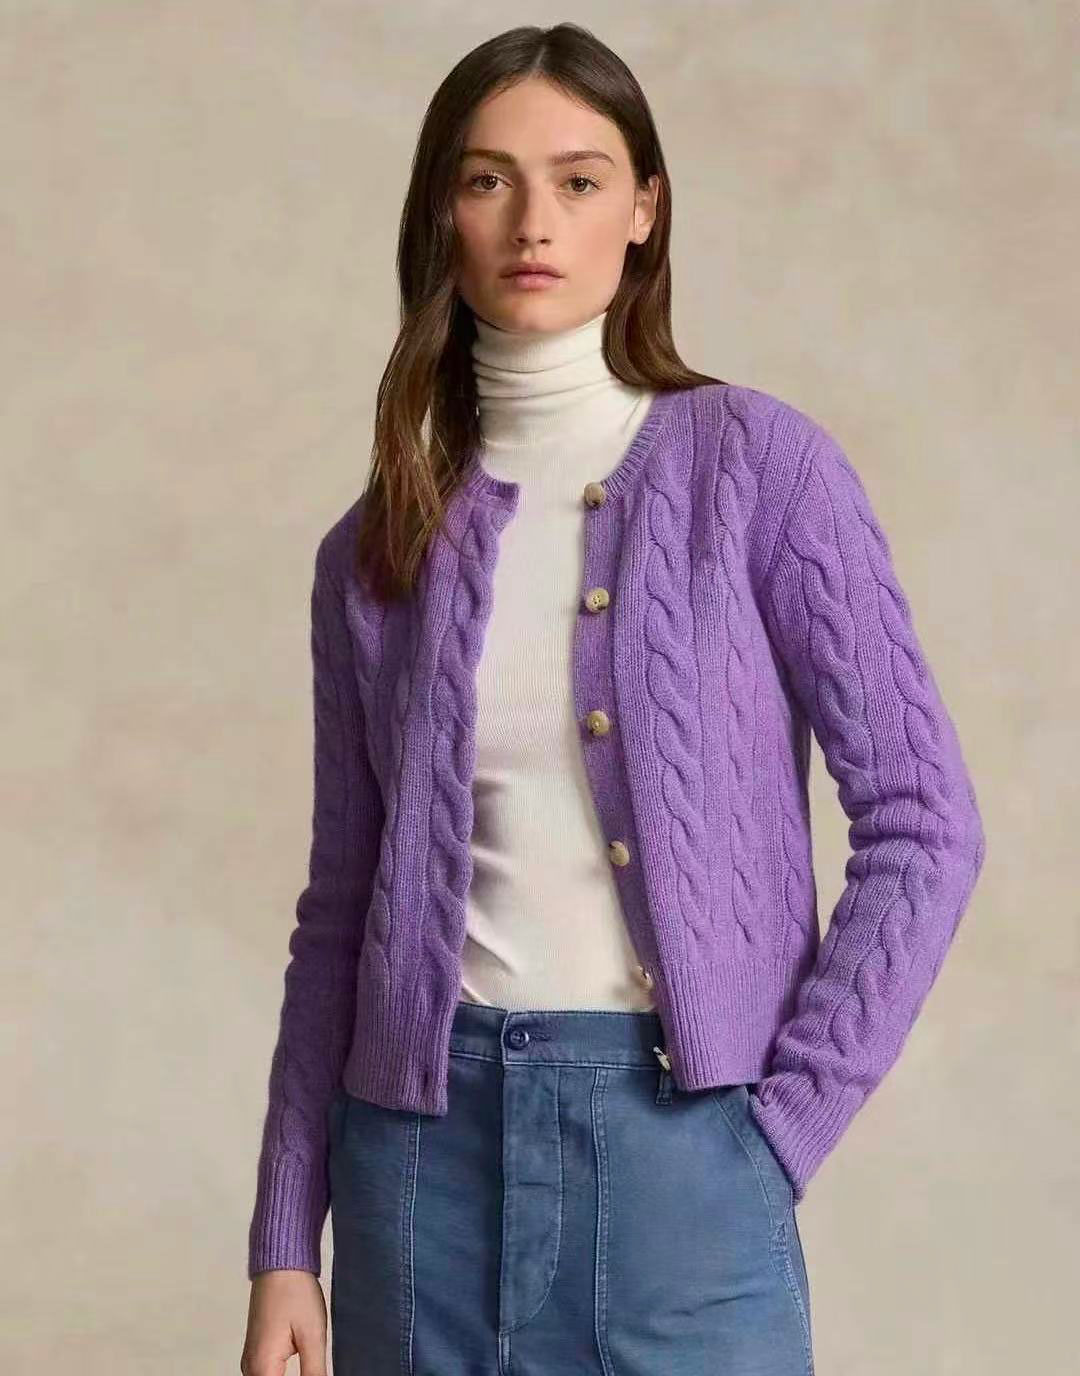
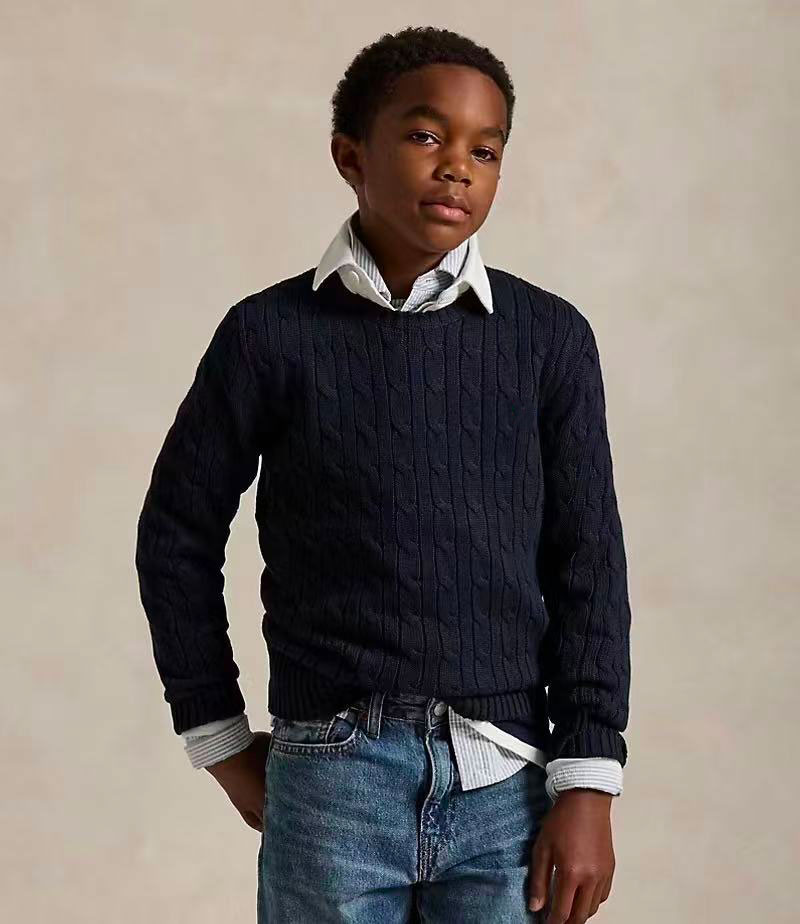
An oversized cable sweater with dropped shoulders and a relaxed fit.
A knitwear technician needs to think about:
Yarn → Gauge → Stitch Structure → Stitch Count → Panel Dimensions → Shaping → Shoulder Construction → Neckline → Rib Tension → Linking → Finishing
These decisions are connected.
For example:
- Changing the yarn can affect the gauge.
- Changing the gauge can affect the stitch count.
- Changing the stitch structure can affect the garment's width, weight, stretch, and drape.
- After washing or finishing, the knitted fabric may behave differently again.
This is why simply copying the visual proportions of a sketch is not enough.
The first step is understanding the design intention and translating it into a workable knitwear construction.
2、Yarn Selection: What Happens When the First Choice Doesn't Work?
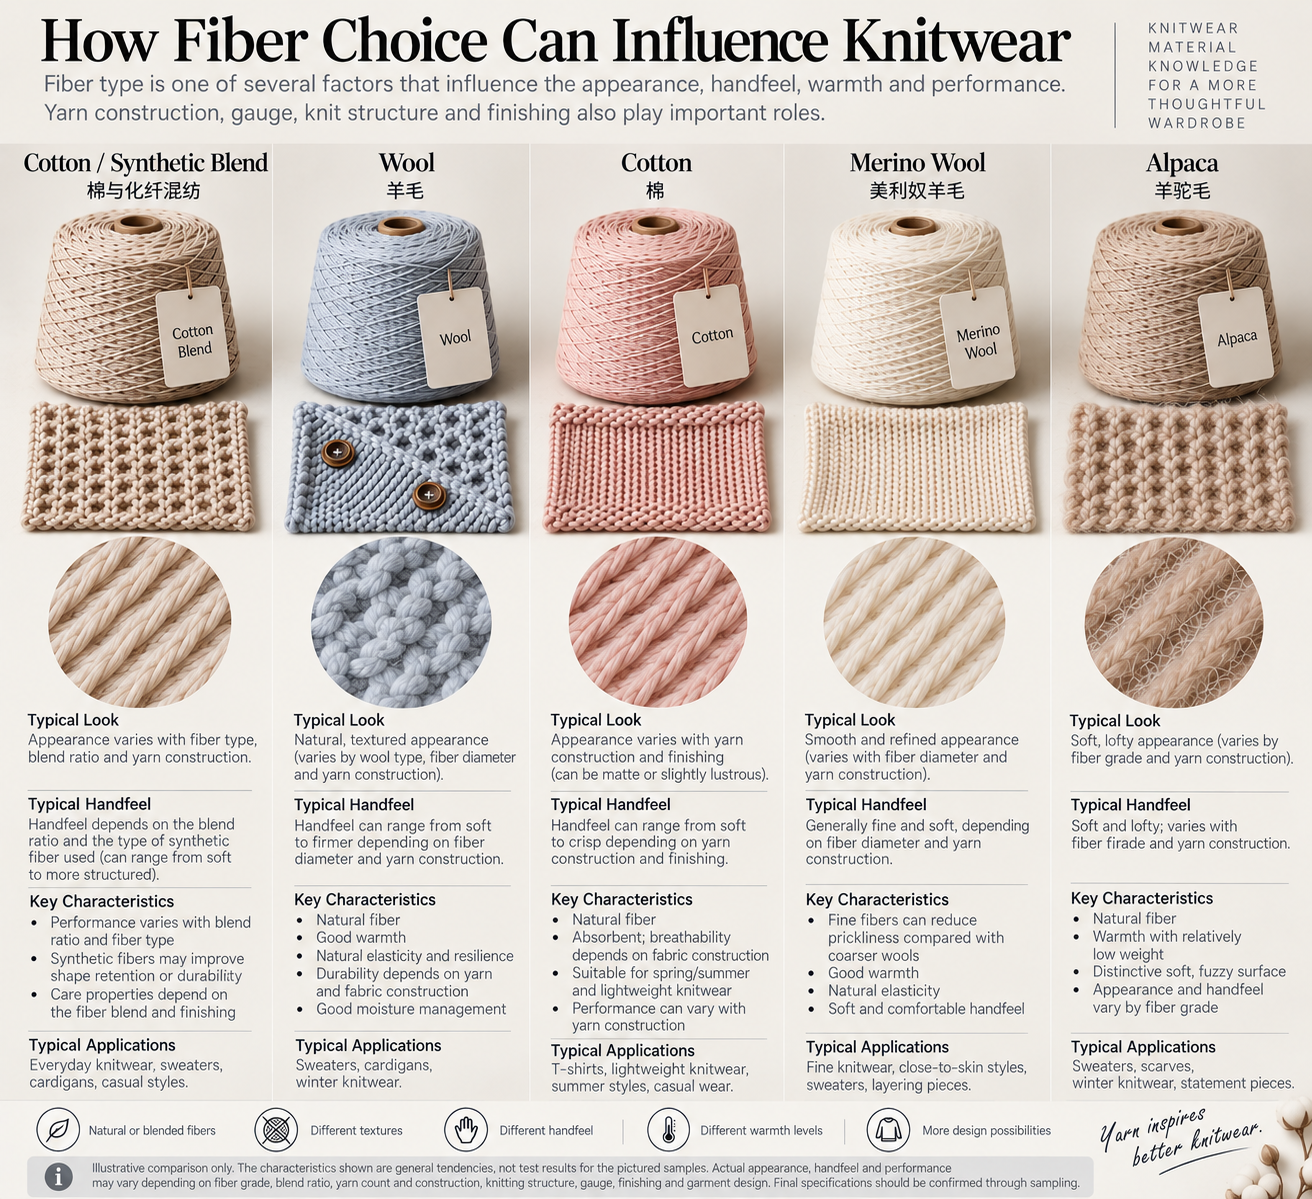
Yarn is one of the biggest variables in knitwear development.
Composition, yarn count, softness, weight, elasticity, surface appearance, and cost can all affect the final product.
But yarn selection becomes more interesting when several design requirements need to be achieved at the same time.
A Typical Development Example
Imagine a designer wants:
A chunky-looking sweater that feels soft and substantial—but not excessively heavy.
A very thick yarn might create the visual effect immediately.
But after knitting, the garment could become heavier than intended.
Simply saying "use a thinner yarn" may not solve the problem either, because the sweater could lose the chunky appearance the designer wants.
So, the development team may need to consider several variables together:
Option A — Adjust the yarn count
Can a different yarn thickness maintain the visual effect while reducing weight?
Option B — Change the fiber composition
Can another composition create a softer or lighter hand feel?
Option C — Adjust the stitch structure
Can the same visual volume be created with a different knitted construction?
Option D — Reconsider the gauge
Would another yarn-and-gauge combination better achieve the intended result?
There isn't always one universal answer.
The correct decision depends on the design.
This is why yarn selection is not simply:
"Choose wool, cotton, or cashmere."
It is about finding the right balance between:
Appearance + Hand Feel + Weight + Performance + Cost
3、Gauge Is More Than a Number
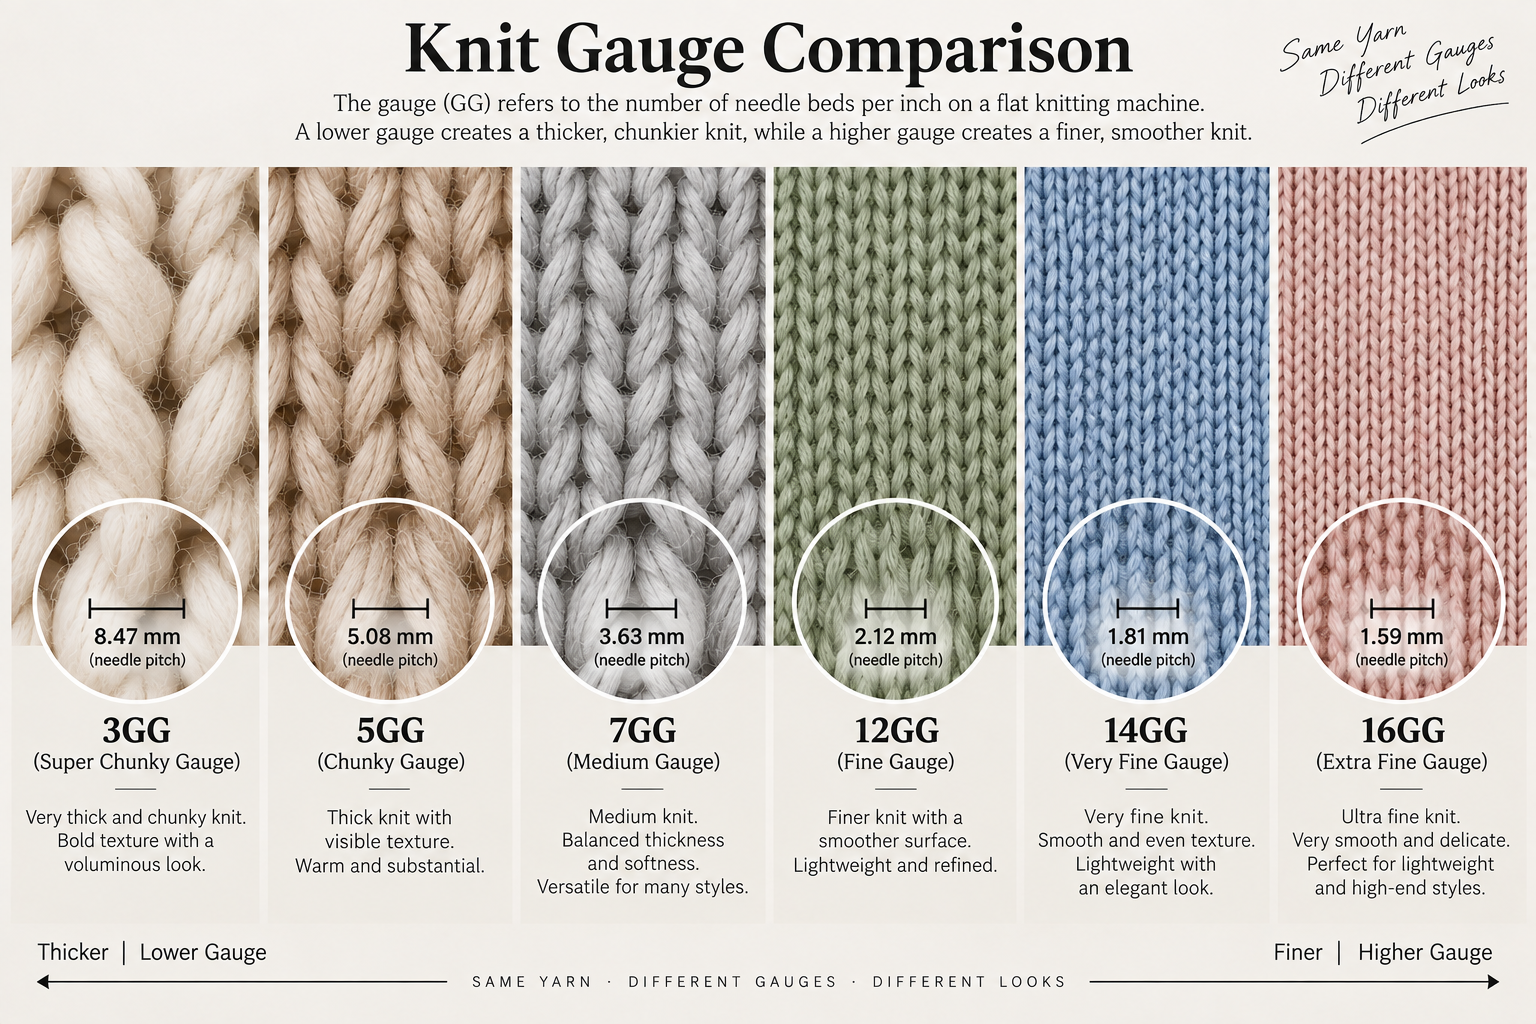
Gauge is another decision that is often simplified too much.
We work with gauges ranging from 3GG to 16GG, covering different knitwear constructions from chunky, heavier structures to finer, lighter garments.
But the question is not simply:
"Do you have a 7GG machine?"
The more useful question is:
"Does 7GG work with this yarn, stitch structure, and intended garment?"
The same gauge can produce very different results depending on:
- Yarn count
- Fiber composition
- Stitch structure
- Knitting tension
- Garment construction
- Finishing
For example, two sweaters produced at the same gauge may have completely different weights, densities, stretch, and hand feels.
This is why gauge should be evaluated together with the yarn and structure rather than treated as an isolated specification.
4、From Designer's Idea to Knitting Program
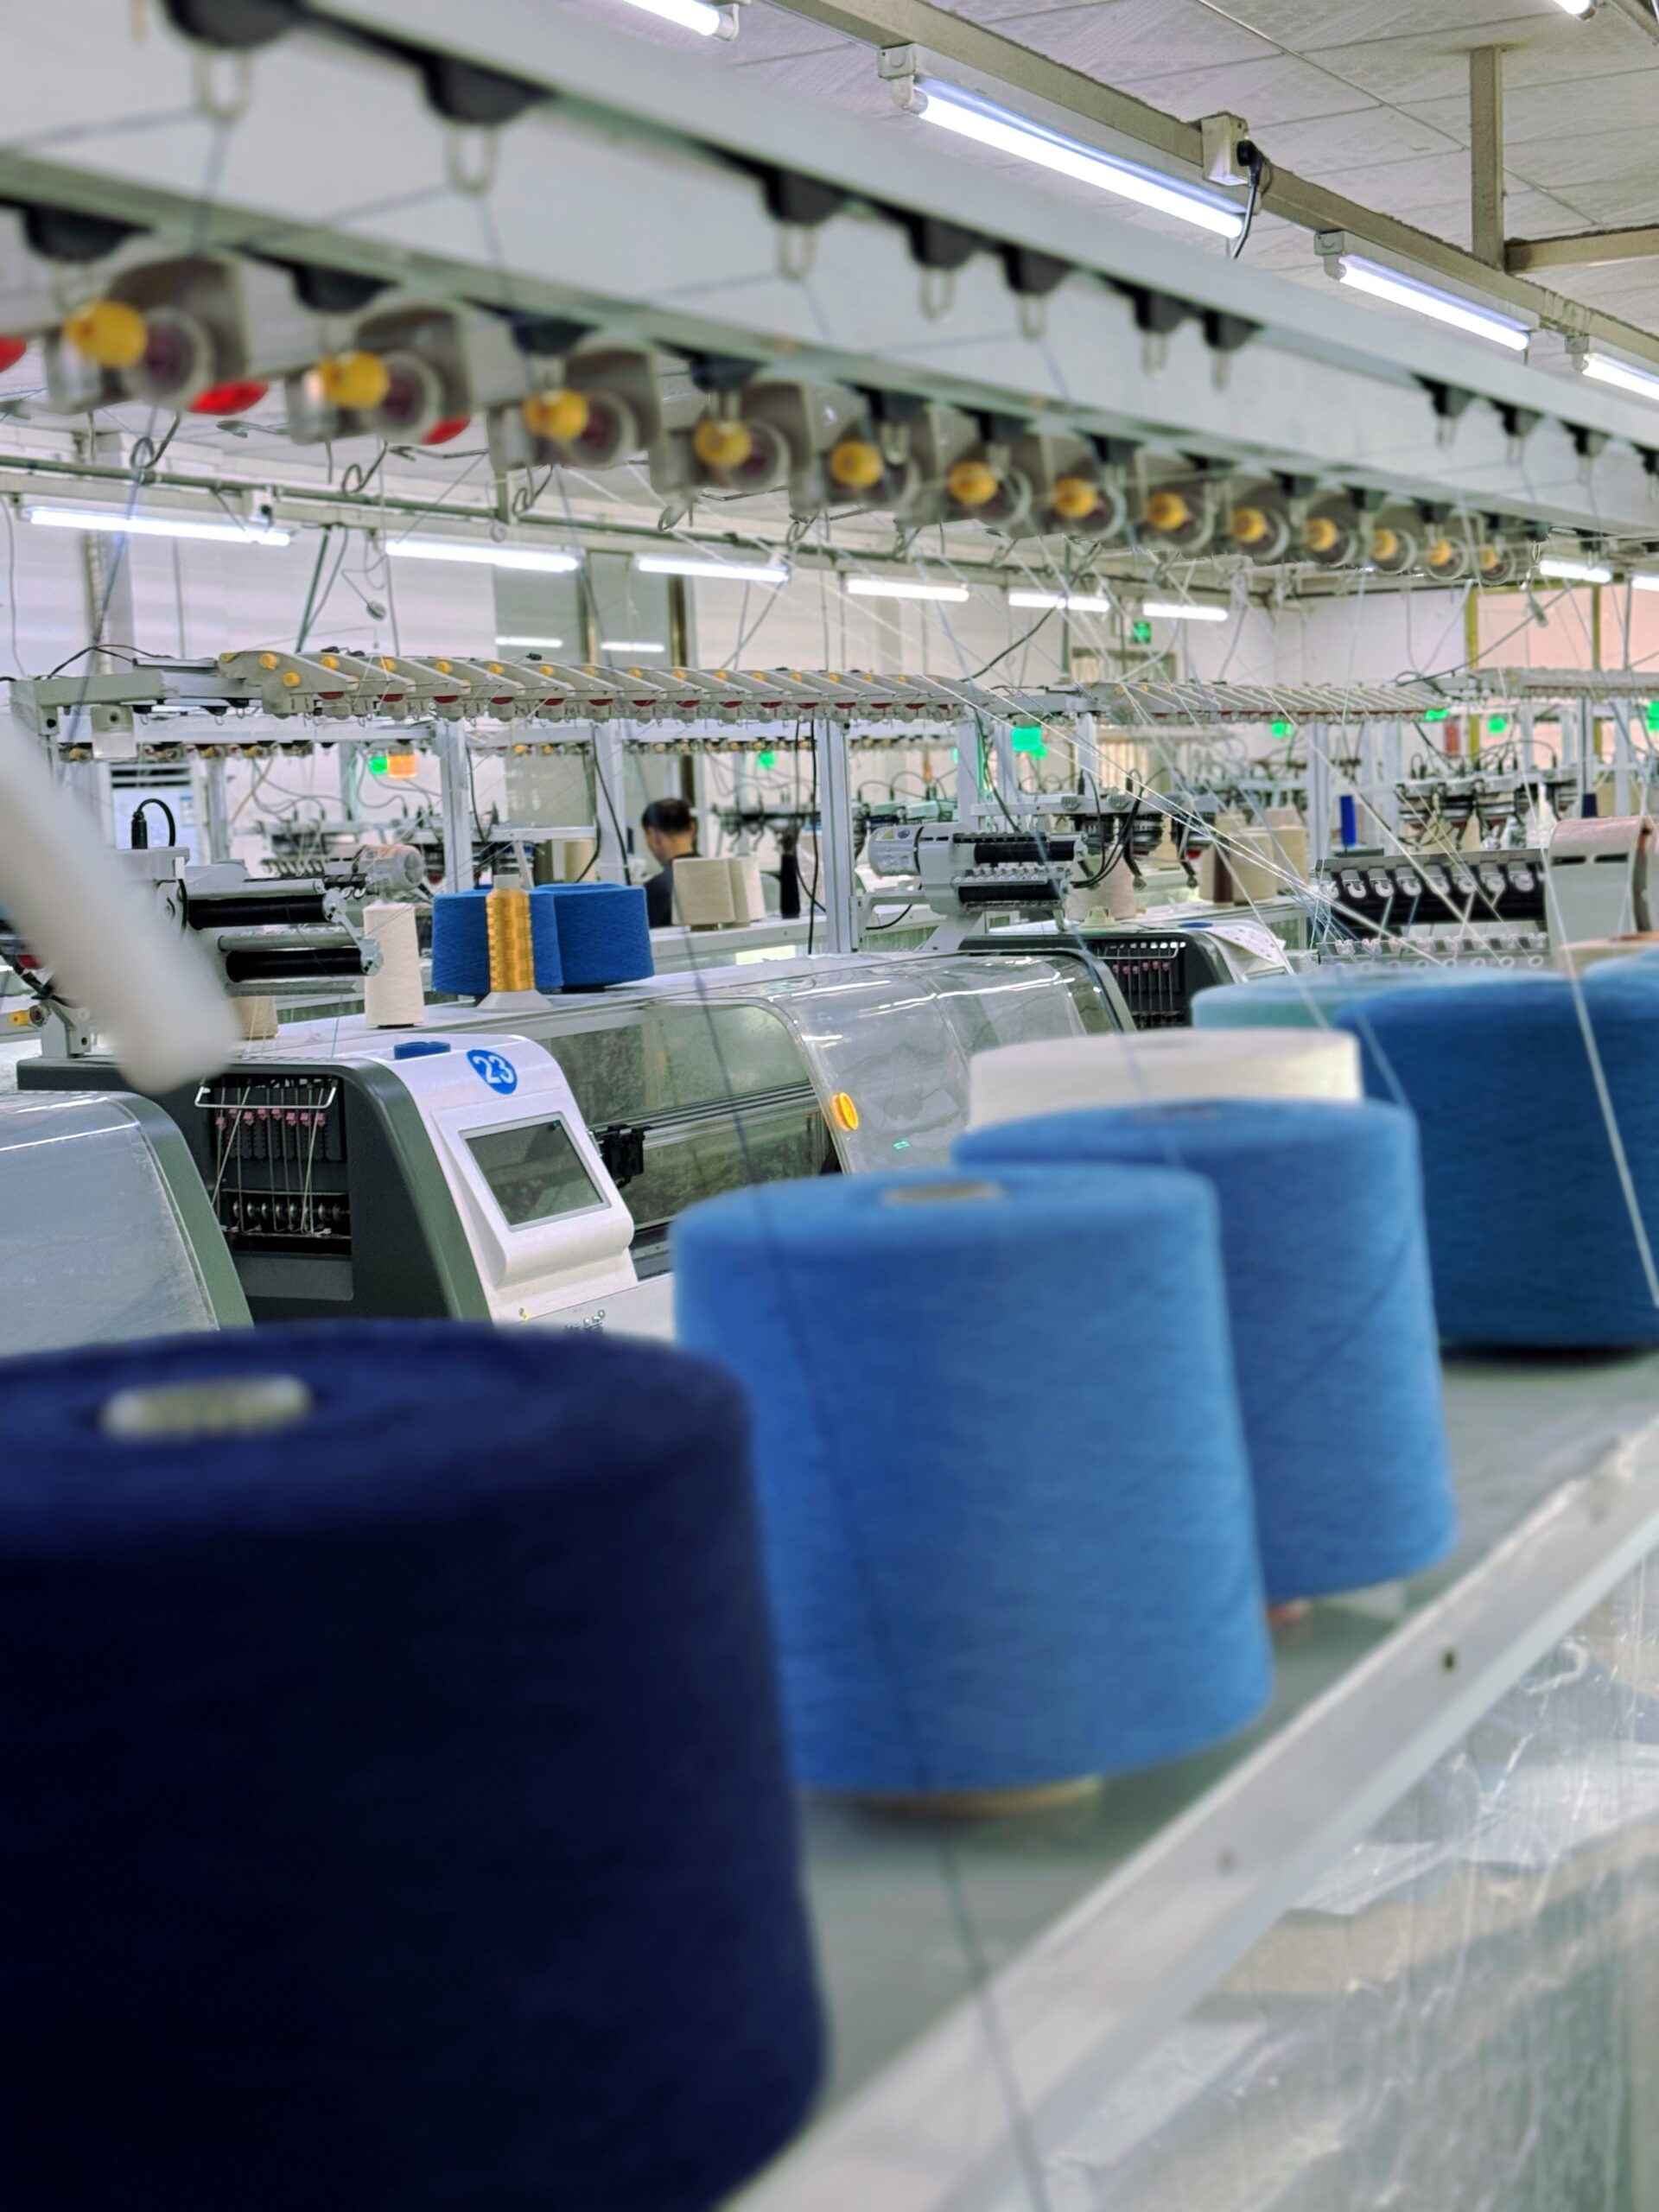
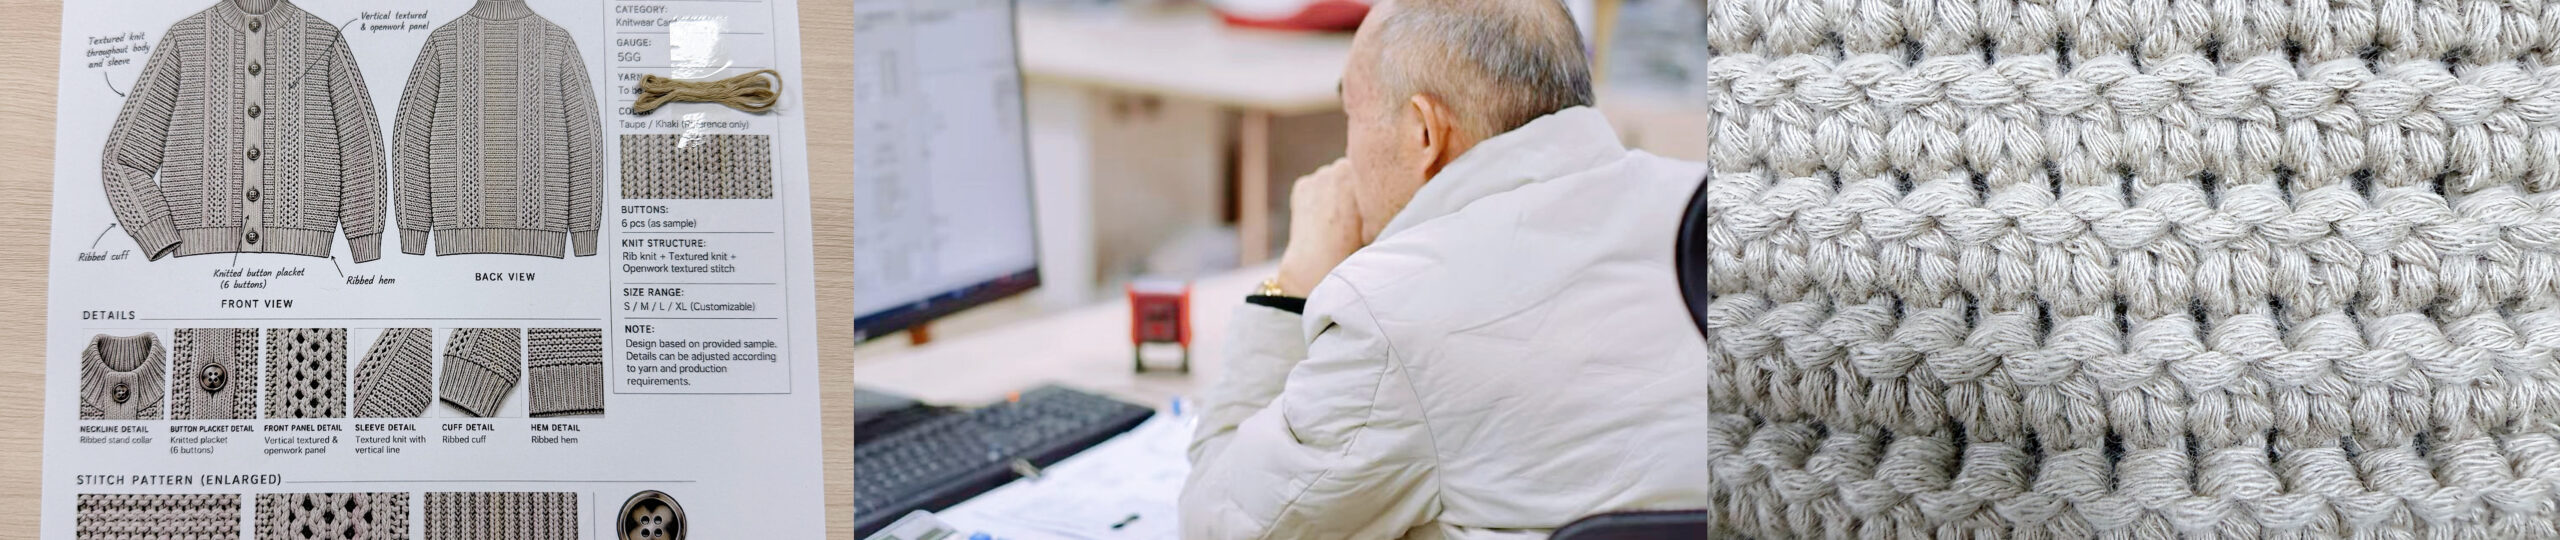
Once the main construction decisions are confirmed, the design needs to become something a computerized knitting machine can actually produce.
This is where our sample room technicians translate the design into a knitting program.
Consider a relatively simple design description:
Dropped shoulder + cable structure + oversized body + ribbed hem
To a customer, that describes the visual design.
To a knitwear technician, it raises a different set of questions:
- How many stitches are required?
- How should the cable structure be programmed?
- How wide should each panel be?
- How should the shoulder be shaped?
- How should the neckline be constructed?
- How much stretch should the rib have?
- How does the yarn behave in this structure?
- Will the programmed dimensions produce the intended measurements after finishing?
For more complex designs—such as jacquards, cables, textured stitches, special shaping, or unusual silhouettes—the program may require testing and adjustment before the first complete garment is knitted.
This stage is where a creative idea starts becoming a manufacturable product.
5、Knitting the First Panels: An Early Checkpoint
Once the program is ready, the garment components can be knitted.
Depending on the construction, these may include:
- Front body
- Back body
- Sleeves
- Collar
- Pockets
- Other knitted components
But completing a panel doesn't automatically mean it should move immediately to assembly.
The panel itself can already reveal useful information.
For example:
- Are the dimensions correct?
- Does the stitch structure look as intended?
- Is the fabric too loose or too dense?
- Is the surface appearance correct?
- Is there distortion in the knitted structure?
Finding an issue at the panel stage can prevent unnecessary work later.
This is another reason why sampling is not simply a linear process of:
Program → Knit → Assemble → Done.
Sometimes the right decision is to stop, review, adjust, and knit again.
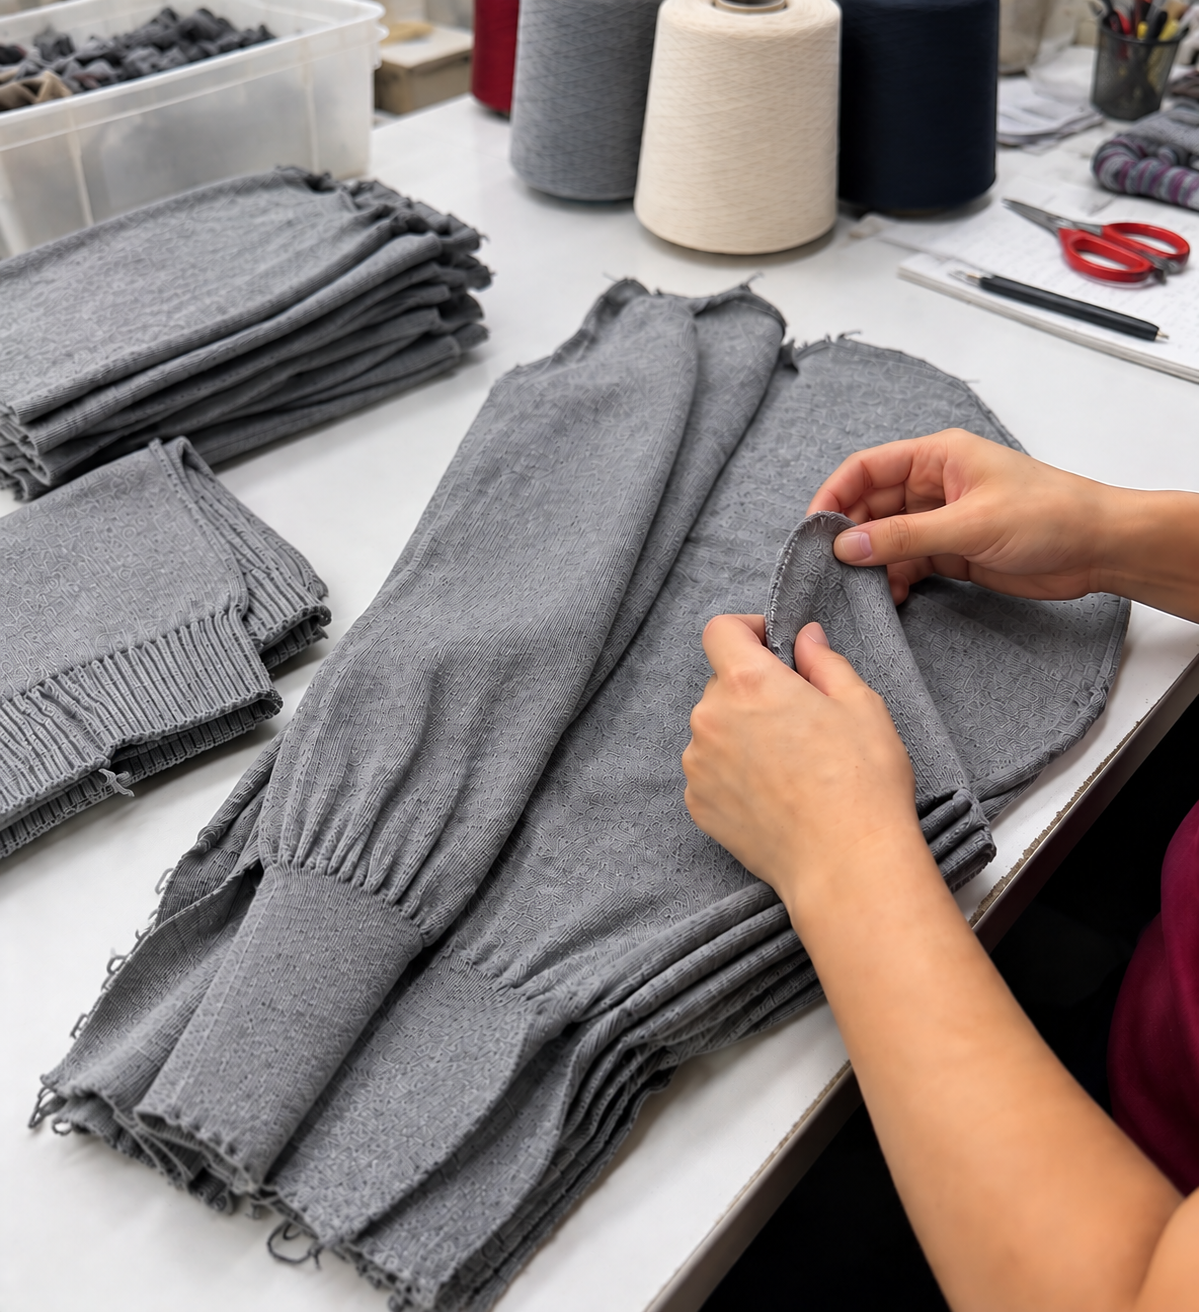
6、Linking: A Small Detail That Can Change the Finished Sweater
Once the knitted panels are ready, they need to be assembled.
For many fully fashioned sweaters, this involves linking, where knitted components are carefully joined together.
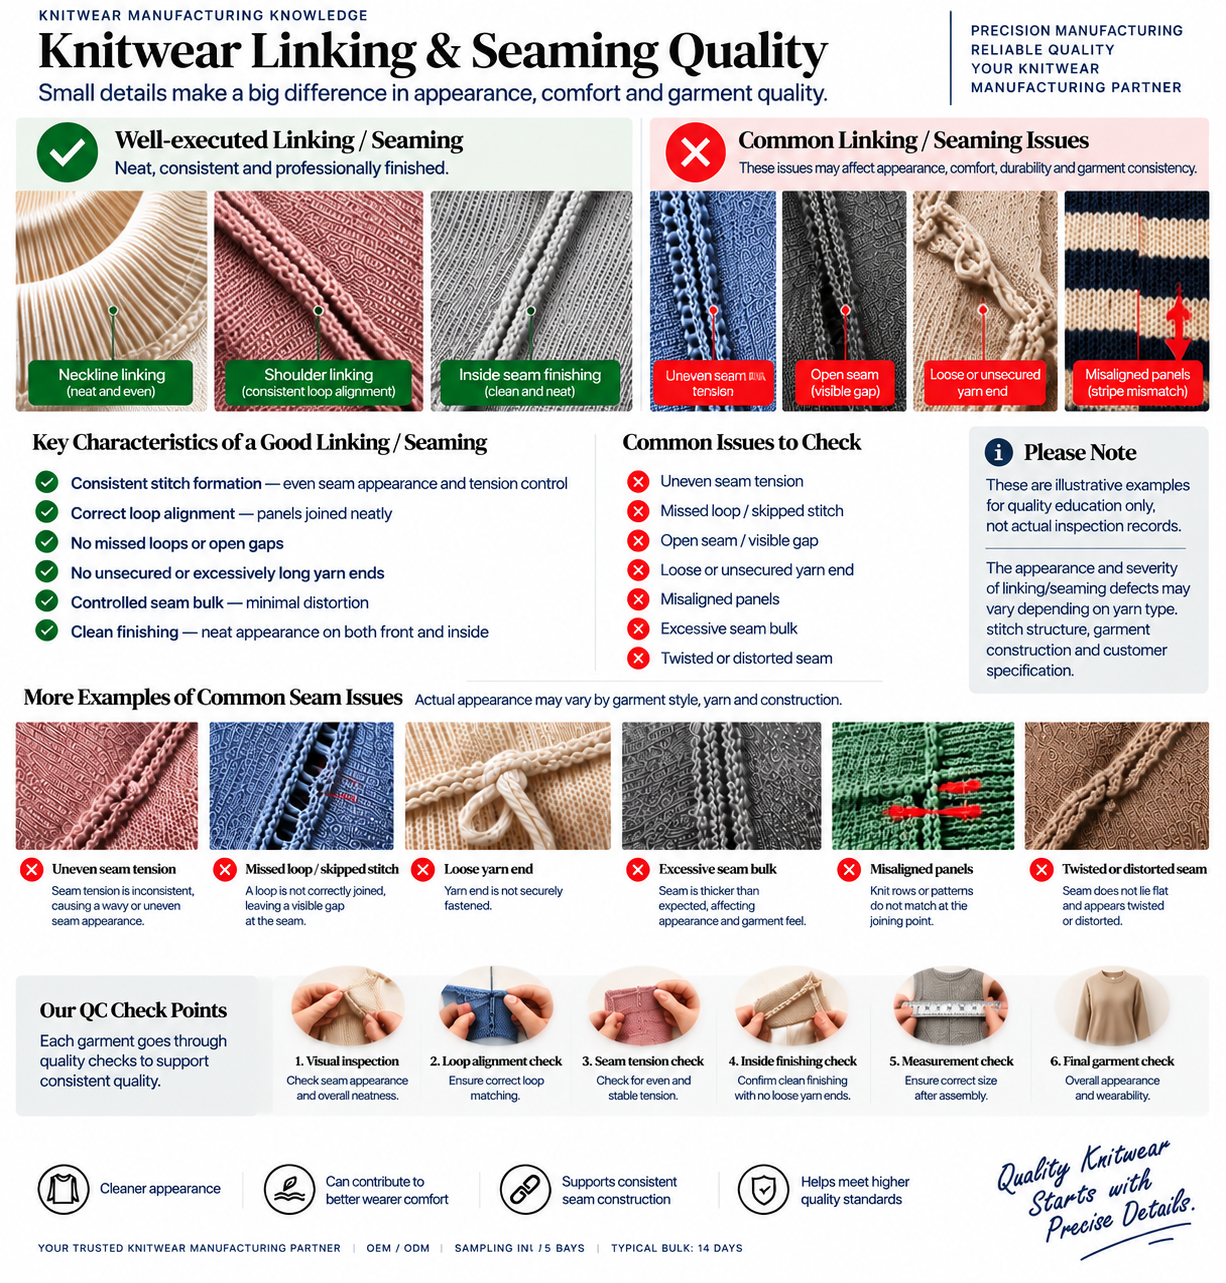
Customers often focus on yarn and knitting quality, but linking quality also affects how the finished sweater looks and feels.
Good linking should help create:
- Clean seams
- Consistent construction
- Comfortable joins
- Smooth transitions between panels
- Reliable seam strength
Problems in linking can create:
- Bulky seams
- Uneven joins
- Excessive seam tension
- Distortion
- Uncomfortable areas inside the garment
- Visually inconsistent construction
This is one of those details that may not stand out when it is done well—but becomes very noticeable when it is done poorly.
What Good Linking Looks Like
Instead of only saying "we have experienced linking technicians," we prefer to look at the actual workmanship.
Is the seam clean?
Is the tension consistent?
Does the joined area lie correctly?
Does the seam affect the silhouette?
These details contribute directly to the quality of the finished garment.
7、The First Sample: Where the Real Development Begins
After knitting, linking, and finishing, we finally have something that the original sketch could never provide:
a physical garment.
Now it can be:
- Measured
- Touched
- Worn
- Viewed from different angles
- Compared with the original design
- Evaluated for weight and hand feel
This is where some of the most important product development decisions happen.
We check:
- Measurements:Does the garment match the required specification?
- Silhouette:Does the actual shape match the designer's intention?
- Proportion:Do the body, sleeves, shoulders, neckline, and ribbing feel balanced?
- Hand Feel & Weight:Does the yarn behave the way we expected in the finished garment?
- Workmanship:Are the knitting, linking, seams, pattern alignment, and finishing consistent?
The key question is no longer:
"Did we make a sweater?"
It is:
"Did we make the sweater the designer intended?"
Why the First Sample Isn't Always the Final Sample
This is one of the most important things to understand about knitwear development.
The first sample may reveal that:
- The body is too long
- The sleeves need more volume
- The neckline is too wide
- The shoulder shape needs adjustment
- The ribbing is too loose
- The garment is heavier than expected
- The yarn doesn't feel soft enough
- The stitch structure isn't visible enough
- The overall silhouette needs refinement
That doesn't automatically mean the sample has failed.
It means we now have real information that didn't exist when the product was only a drawing.
A productive sample review should therefore ask:
What is different from the original intention—and why?
If the garment is too heavy, changing the measurements may not solve the problem.
If the silhouette is wrong, changing the yarn may not be the answer.
If the neckline isn't sitting correctly, the issue may involve construction rather than simply circumference.
The important part is identifying the correct variable to adjust.
What 1,500+ Knitwear Developments Teach Us
Our product development team develops more than 1,500 knitwear styles each year.
But the number itself is not the important part.
What matters is the variety of development challenges behind those styles.
Different projects expose our team to different combinations of:
- Yarn
- Gauge
- Stitch structure
- Fit
- Silhouette
- Construction
- Finishing
- Product requirements
That experience becomes particularly useful when a design doesn't behave exactly as expected in the first sample.
Sometimes the solution is changing a measurement.
Sometimes it is changing the yarn.
Sometimes the knitting structure needs to be adjusted.
And sometimes several variables need to be considered together.
The purpose of experience is not to eliminate every sample revision.
It is to make better decisions when revisions are required.
How Long Does Knitwear Sampling Take?
Sampling time depends on the product.
Design complexity, yarn availability, special knitting structures, trims, finishing requirements, and revisions can all affect the development schedule.
For suitable styles with the necessary development information and yarn available, our sample development typically takes approximately 5 days.
More complex styles or projects requiring special yarn sourcing, programming tests, or additional development may require longer.
But speed alone is not the objective.
A fast sample that leaves important product problems unresolved does not necessarily save time.
A useful sample should help the brand make better decisions before bulk production begins.
When Is a Sample Ready for Production?
A sample should not move into bulk production simply because it "looks good."
Before approval, key details should be confirmed, including:
- Measurements
- Yarn
- Color
- Gauge
- Knitting structure
- Fit
- Construction
- Trims
- Finishing
- Workmanship requirements
The approved sample then becomes an important production and quality reference.
This is why solving problems during sampling matters.
A measurement adjustment on one sample is manageable.
Discovering the same problem after hundreds of garments have been produced is much more costly.
A Good Knitwear Sample Answers Three Questions
By the end of the sampling process, we want to answer three questions:
- Does the physical garment match the designer's intention?
- Have the important technical and construction details been resolved?
- Can this product be reproduced consistently in bulk production?
If the answer to all three is yes, the sample has done its job.
This is why we see knitwear sampling as more than making a prototype.
It is the process of turning a creative concept into a manufacturable product.
Have a Knitwear Design You'd Like to Develop?
You don't necessarily need every technical detail finalized before starting the conversation.
If you have a design sketch, tech pack, measurement sheet, reference images, or an existing sample, these can provide a starting point.
Our development team can review the available information, identify what still needs to be confirmed, and discuss how the design could move from concept to physical knitwear sample.